Visible Mending: Darning Frayed Cuffs
Now that it’s finally sweater weather, it’s also the time to discover worn areas of old favourite sweaters.
One of my go-to comfy sweaters for around the house has been wearing away at the cuffs for a couple of years now. It’s the downside of all the knitting I do- knitting machines and linkers are great for catching and fraying cuffs on, so the cuffs on this sweater had become really bad.

The worst cuff before mending.

Worn edges on the cuff.

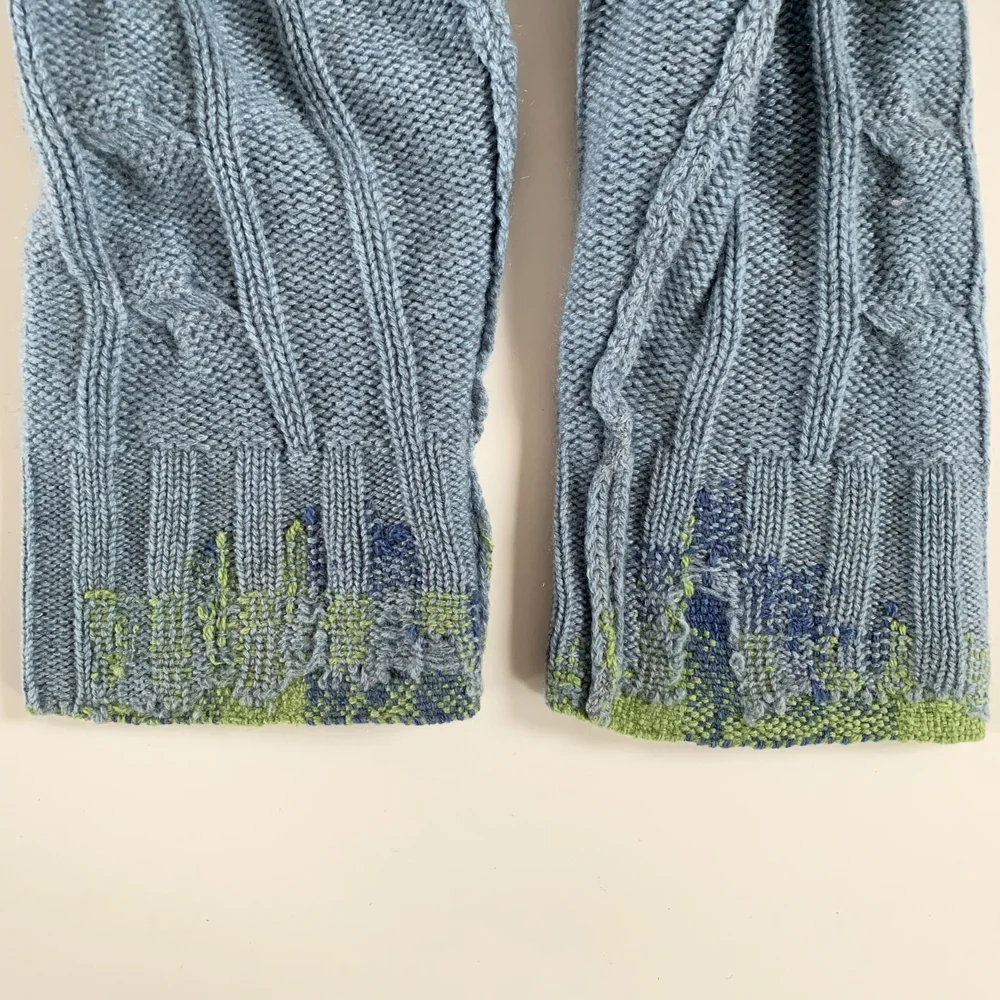
Both cuffs, with one mend already started.
I did think about just re-knitting them, but I’ve been wanting to try mending an edge of a wool sweater, and decided to darn them instead.
Normally, I would start my darn by working up and down knitting- catching any stitches that were running first (for this method, you can find the how-to guide here). However, my frayed cuffs were in such bad condition I had to create extra fabric at the edges, so I worked across the way to start with. I started at the sleeve end of the cuff and worked my way outwards towards the edge.
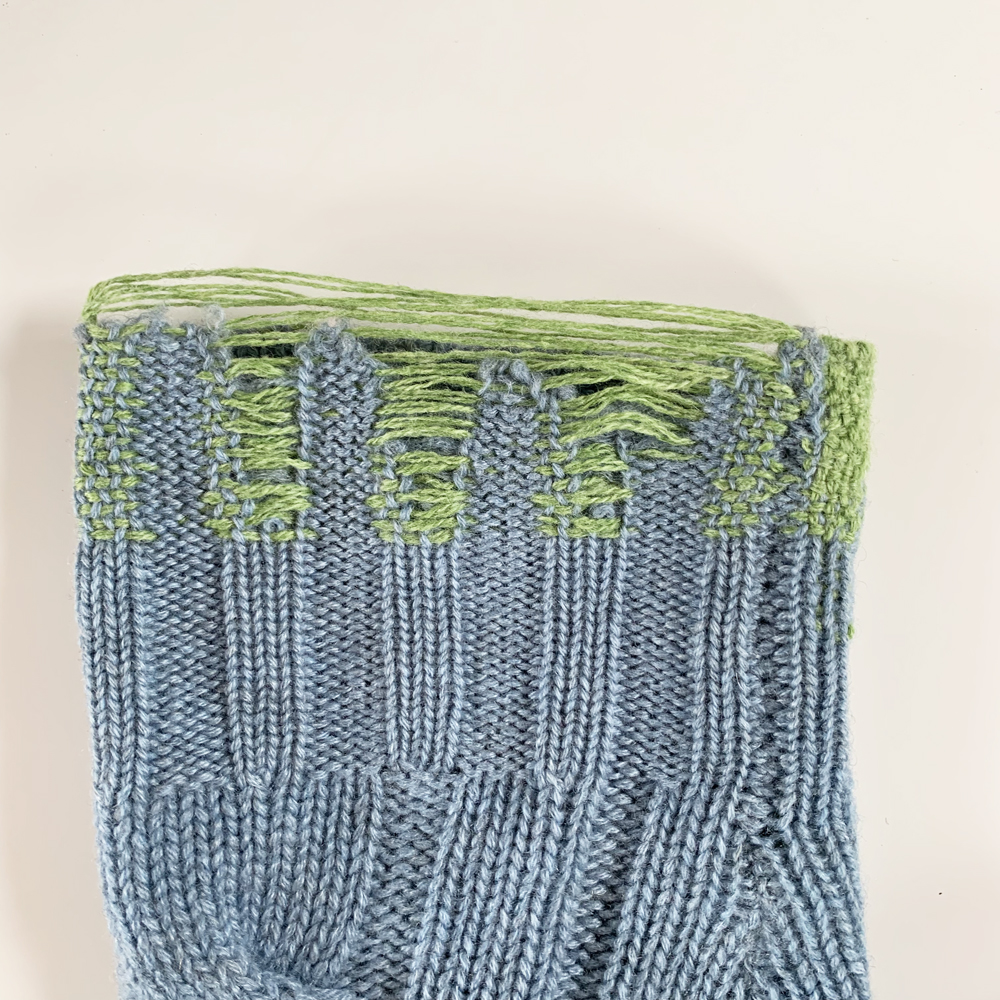
Work in progress- the first direction of stitching.
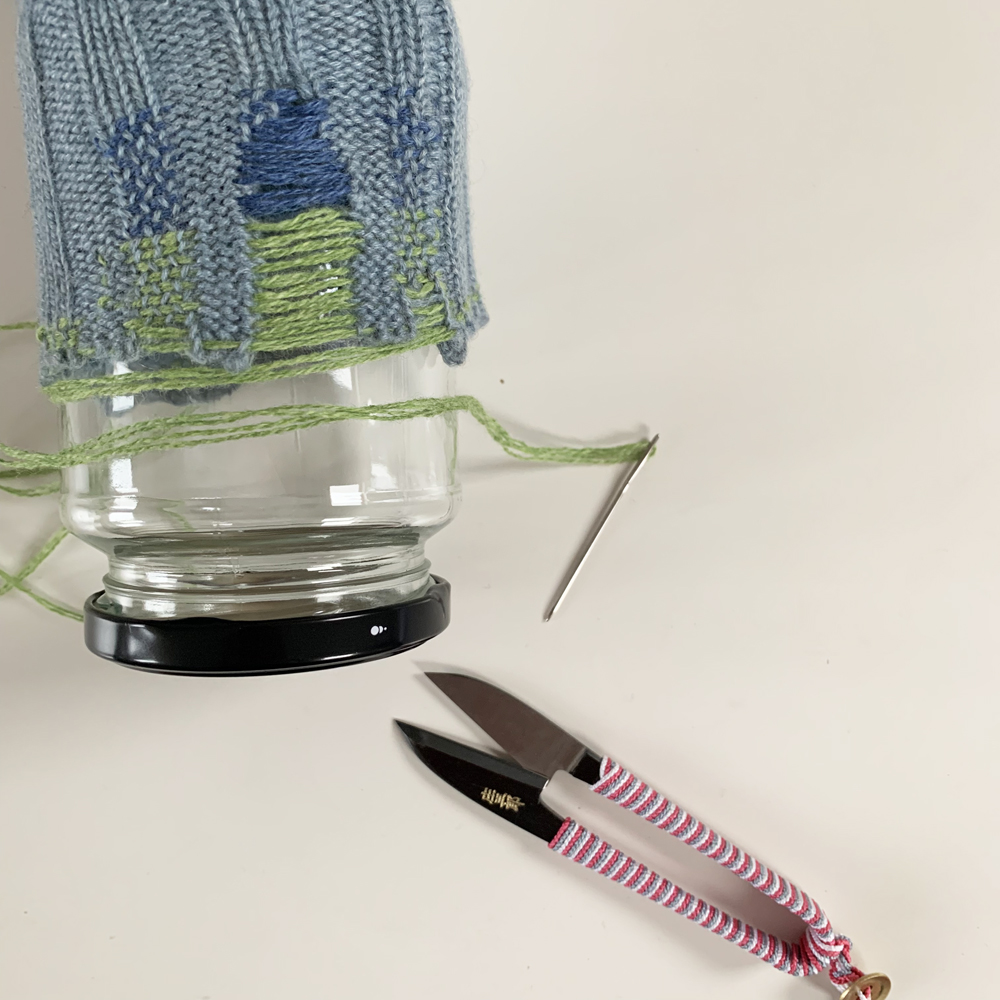
Using a jam jar to work around to build up the extra fabric of the cuff.

Side view of the long strands of yarn at the top of the cuff.
When working round something like a frayed cuff, the issue is keeping the tension and shape, as its always easy to make the yarn too tight, or too loose, or uneven. It took me a while to work out what I could work around, and then I realised an old jar would be perfect! So, for those who ask what tools I use- I used a blunt darning needle, the glass jam jar, my yarn, scissors, and that’s it.
The first cuff, as a work in progress.

The first finished cuff.

A close up of the darned edge. You can see where the knitted fabric ends and the darn continues.
Working at the edge of the fabric means that at one side there’s no existing fabric to work into. So instead, you have to just work around your own threads, keeping them in place, and being very careful with the tension.

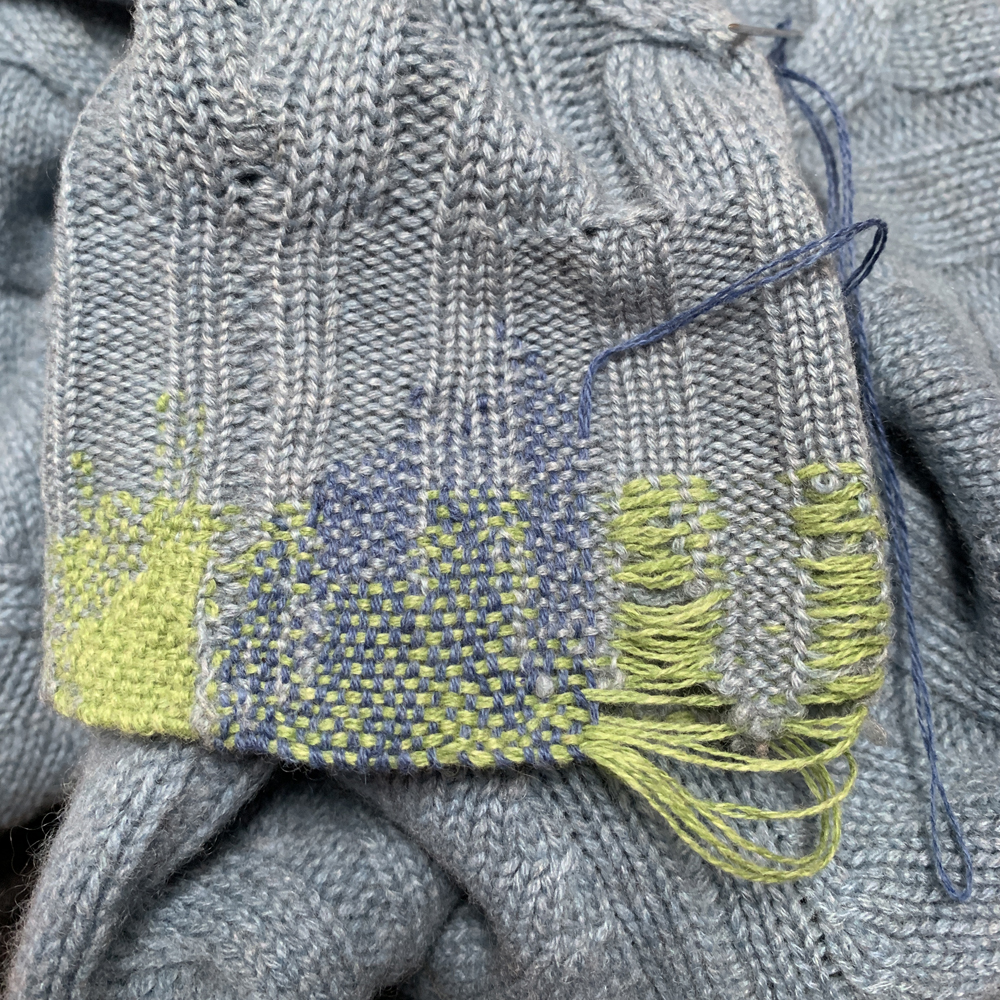
The second cuff. Even though I was very careful with my tension, I still ended up with a loose area between the knitted fabric and my darned edge, so I decided to add some extra weave in, in blue to sort it out. I didn’t like it in the end though- it wasn’t as subtle as I would have liked, so I undid it and worked it in green instead.
The inside of the cuffs.

Detail of the inside of a darned cuff.
I sometimes get asked how I work the darn, so I’ve put together a written how-to for one of my darns, available here. These ones were worked from the right side of the fabric, weaving through some fabric around the worn areas for extra security. How much I work around the hole really depends on the condition of the fabric, and how I want it to look. I thought for interest, I would show you the inside of the cuffs too- they’re a little less neat, but there’s not a huge difference because of the rib knit.

The finished cuffs! Ta Da!
Initially I wasn’t sure if darning would be right for how to mend frayed cuffs of a knitted sweater. It’s not very stretchy. However, the cuffs on this sweater have been so stretched by me wearing them pushed up my arms (to keep out of the way of the knitting machine), that I decided if I made sure the darning kept them the same width they’d be fine, and thankfully they are!